How to DIY a Camp Kitchen Box
Going hungry on a camping trip can be frustrating. Even though you can’t carry all your kitchen utensils and essentials around during a camping trip, you need a plan to cater for food during your stay. Luckily, having a camp kitchen box can be the solution you need to prepare food for your next camping trip. Even after putting together a camping food checklist, a camp kitchen box helps keep all your kitchen appliances organized, which would aid your movement during travels.
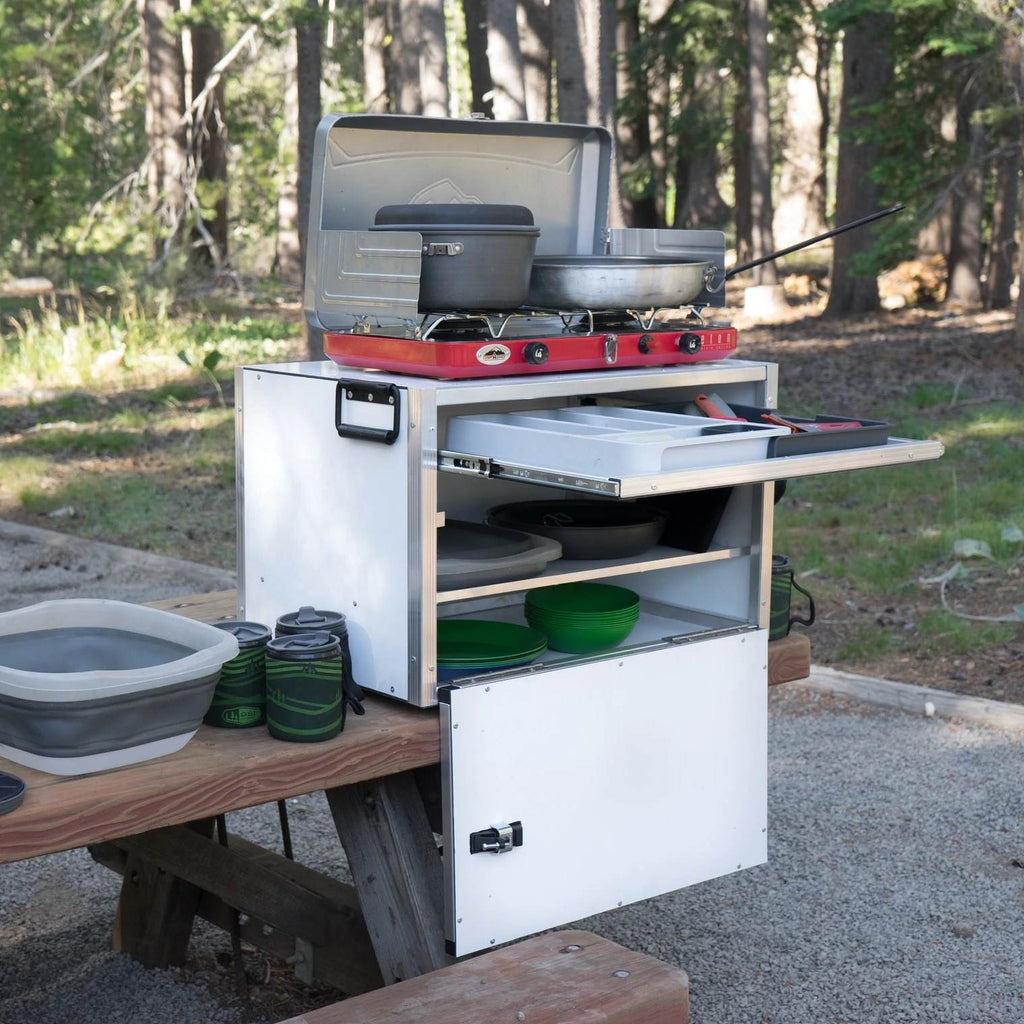
A camping kitchen box is a portable cabinet where you get to keep all your camping kitchen essentials. The kitchen camp box comes in different sizes depending on its use and the number of days of your camping trip. These days, wooden and plastic chunk boxes are more common because the materials are easy to get and suitable for making chunk boxes. You need basic woodworking ideas to make a DIY camping kitchen or a DIY chuck box.

What do you put in a camp kitchen box?
The camping kitchen box has different storage compartments for various items and utensils. Since cooking inside a camping tarp or tent is not advisable, you can set your kitchen camping box behind your car trunk or picnic table. You need to ensure your chunk kitchen box is quite spacious yet portable to keep your food and gear for camp cooking. There are several things to put in your camp box while going on a trip. These are a list of essentials to prepare easy meals for every camping trip:
- Stove
- Pots, pans, and kettle
- Utensils
- Spices
- Cooking oil
- Extra oil
- Cups, spoons, bowls, and plates
- Water cans
- Non Perishable food
How do you make a camp kitchen box
A good kitchen box should have certain features such as cabinet doors, drawers, easy access to supplies, and good balance.
Before you begin making your DIY chunk box or camp kitchen box, you need to know how your chunk box would look. If you don’t have a ready design, you can check up for some online. Also, you would need to purchase some tools and materials.
-
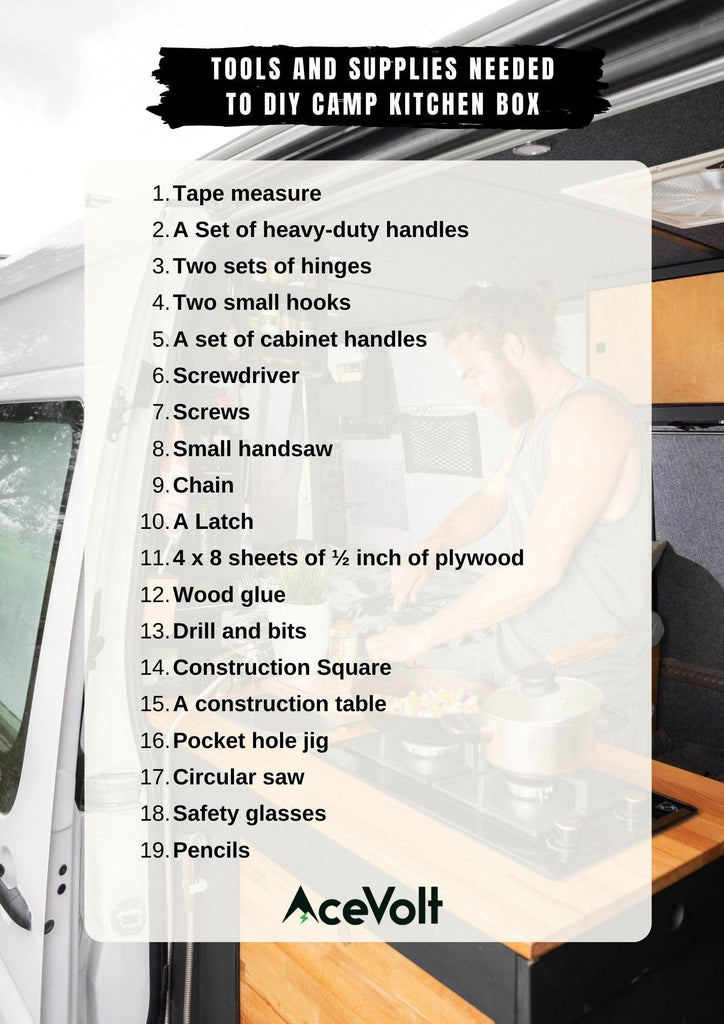
1. Tools and supplies needed to DIY camp kitchen box:

Before you proceed, you have to cut the plywood into specific bits. Here’s an example of a cut list for the plywood:
|
Wood compartments |
Quantity |
||
|
1 |
Front face |
1 |
|
|
2 |
Front middle face |
1 |
|
|
3 |
Front bottom face |
1 |
|
|
4 |
Top panel |
1 |
|
|
5 |
Back panel |
1 |
|
|
6 |
Dividers |
2 |
|
| 7 | Shelves (top, middle, bottom) | 3 | |
| 8 | Side panels | 2 | |
| 9 | Shelf lip | 1 | |
Note: The measurement of your cuts depends on the size of your kitchen box. If you intend to make a portable camp kitchen, the height would be higher than what you measure for a chuck box camp kitchen. Always remember to add a bit more measurement while cutting to avoid the mistakes of shorter cuts.
-
2. Steps to making a camp kitchen box
To DIY camp kitchen is not all that tough to make if you have the tools, woodwork knowledge, and a ready design. Of course, it involves a few processes, but these step-by-step guidelines can get you started:
- Step 1:
Based on your cut list, take measurements of the individual parts of the kitchen box.
- Step 2:
If you can’t use a saw, you can always go to a hardware store that offers cutting services. You would need to provide them with your design and the measurements. After cutting each part, use your pencil to label them for easy identification. It’s preferable to tag the inner surface and avoid disfiguring the aesthetics of the camp box.
- Step 3:
Mark the areas that would need pocket hole drilling. These areas can include:
- The left side of the backplane
- The right side of the backplane
- The left side of the bottom left corner of the side panels
- The right side of the bottom right corner of the side panels
- The top panel in the front
- The four sides of the bottom shelf
- The left, right, and back of the top shelf
- The left, right, and back of the middle shelf
- You can drill holes in any spot you choose for the dividers in the box
-
Step 4:
After drilling, assemble all your planes and plan out your kitchen box structure according to your design.
- Step 5:
Take the side plane and the backplane and place both on your construction table. Apply wood glue to both edges of the wood, put them together, and attach the panels with screws to the drill holes.

- Step 6:
Attach the front bottom face with screws and glue. Pick up the bottom shelf and fit it into the frame, then glue and screw.
-
Step 7:
Depending on the size of your kitchen box, measure the highest section to ensure the top shelf with the bottom of the box aligns.
-
Step 8:
Take a screwdriver, attach the dividers and install the middle shelf with dividers into the box.
-
Step 9:
With screws, attach the shelf lip to the top frame. Also, use glue and screws to attach the front top face to the Top Panel.
-
Step 10:
Place the box on its side, mark the location of the top lid hinges, and drill the holes. After that, place the plane box over the top.
Conclusion
When planning camping trips, planning for all essential camping gear, including your chuck box and your Acevolt Campower portable power station is necessary for proper camping organization. Having a Chuck box makes camp packing and setup easier. With solar panels to generate energy from the sun, your solar generator plays its part in powering your electronic cooking devices such as your microwaves, coffee maker, and others. Also, it supplies electricity while camping and power to brighten up your cooking space.
Related Product


Leave a comment